November 1, 2022
Linux Fundamentals Lesson 5 : Administering Files In Linux
Exercises
Introduction
Lab Topology
Exercise 1 — Administering Files in Linux
Review
Learning Outcomes
In this module, you will complete the following exercises:
- Exercise 1 — Administering Files in Linux
After completing this Lab, you will be able to:
- Editing Files in Linux
- Creating Files
- Deleting Content from Files
Lab Duration
It will take approximately 30 minutes to complete this Lab.
Lab Topology
During your session, you will have access to the following lab configuration.
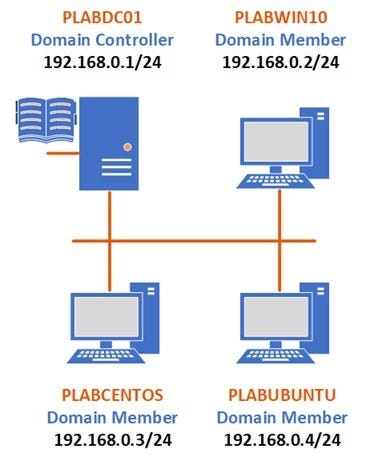
Depending on the exercises, you may or may not use all of the devices, but they are shown here in the layout to get an overall understanding of the topology of the lab.
- PLABDC01 — Windows Server 2019 (1809) (Domain Controller)
- PLABWIN10 — Windows 10 (1903) (Domain Member)
- PLABCENTOS — Centos 7 (Domain Member)
- PLABUBUNTU — Ubuntu 19.04 (Domain Member)
Exercise 1 — Administering Files in Linux
In this exercise, we will learn how to administer files in Linux, which includes Creating, Editing and securing files. We will do this mostly command line and just a little overview through the GUI.
Learning Outcomes
After completing this exercise, you will be able to:
- Edit Files in Linux
- Create Files
- Delete Content from Files
Your Devices
During your session, you will have access to the following lab configuration.
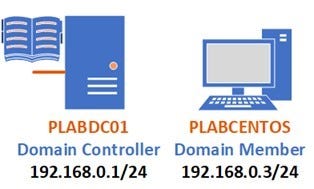
Depending on the exercises, you may or may not use all of the devices, but they are shown here in the layout to get an overall understanding of the topology of the lab.
- PLABDC01 — Windows Server 2019 (1809) (Domain Controller)
- PLABCENTOS — Centos 7 (Domain Member)
Task 1 — Creating a File in CentOS
In this task, we will be creating files using the vim editor in CentOS. There are various types of editors, but we will use vim by default installed in CentOS but may not be installed in other distros, and we will have to install it manually through the command line. This will be explained in one of the tasks moving ahead.
Step 1
Power on PLABCENTOS and log in using the following credentials:
Username:
Plabadmin
Password:
Passw0rd
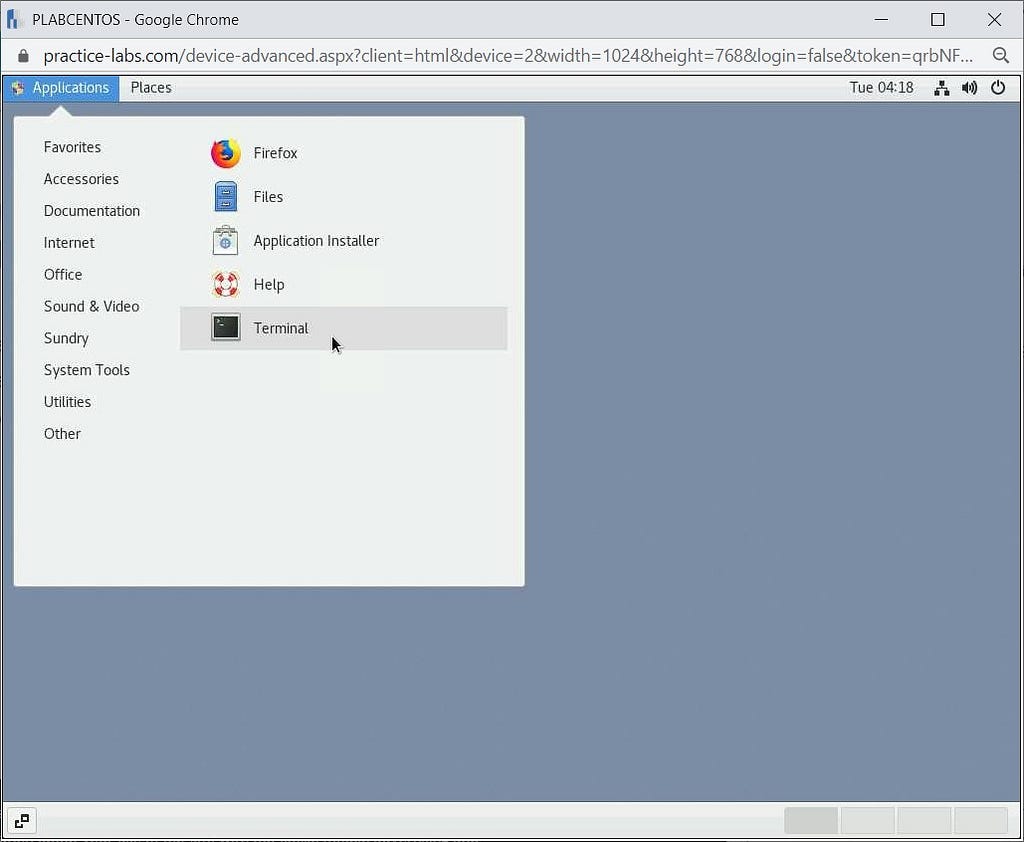
Once you have logged in, open the Terminal window by navigating to Applications > Terminal,
Step 2
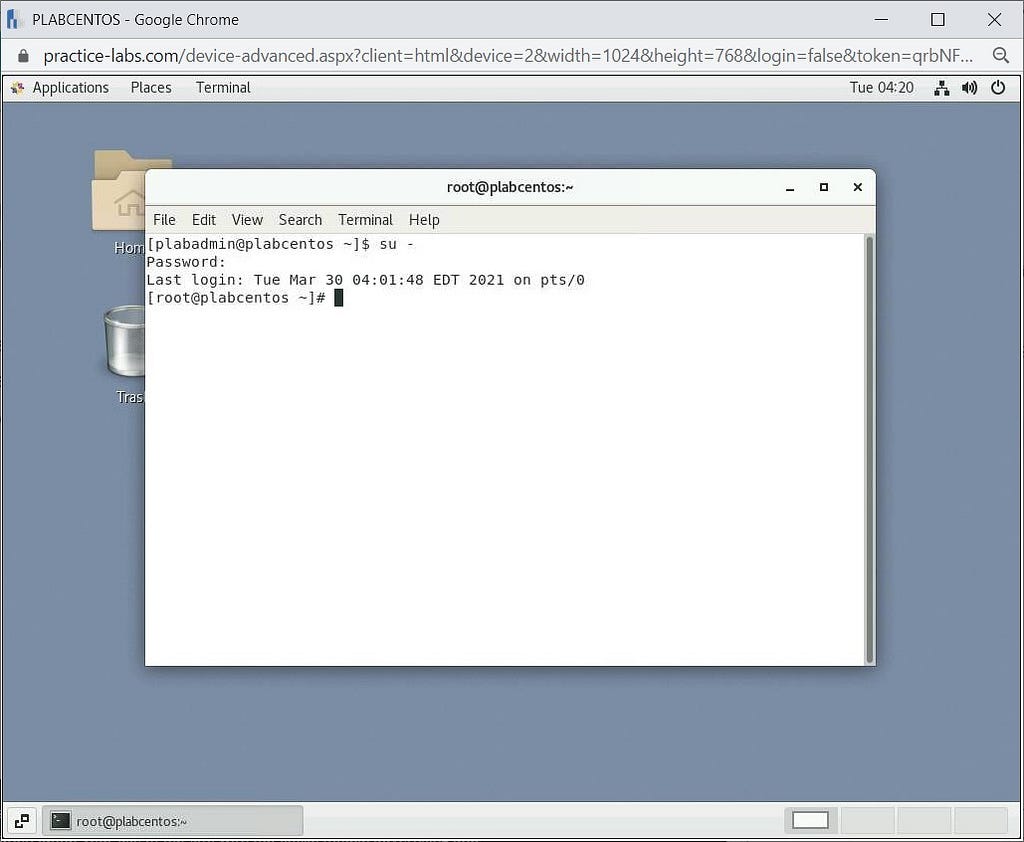
We will now log in as the Root user to do further tasks, as plabadmin users may not have permission to perform all of what we want to achieve due to permissions. To perform this, we will use the following command:
su -
Enter the password, which is by default:
Passw0rd
Step 3
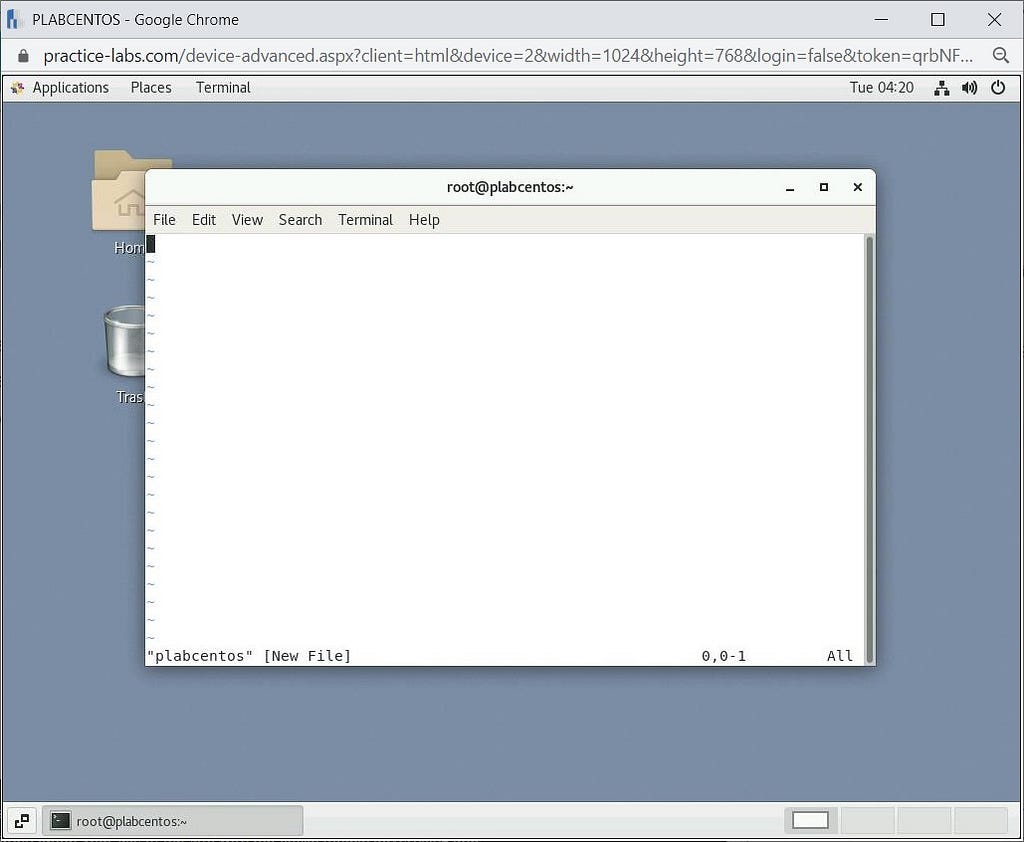
Now we will create a file with the name plabcentos by using the vim command as follows:
vim plabcentos
Task 2 — Editing a File in CentOS
Now we have created our file, lets look at how to edit it via the vim editor.
Step 1
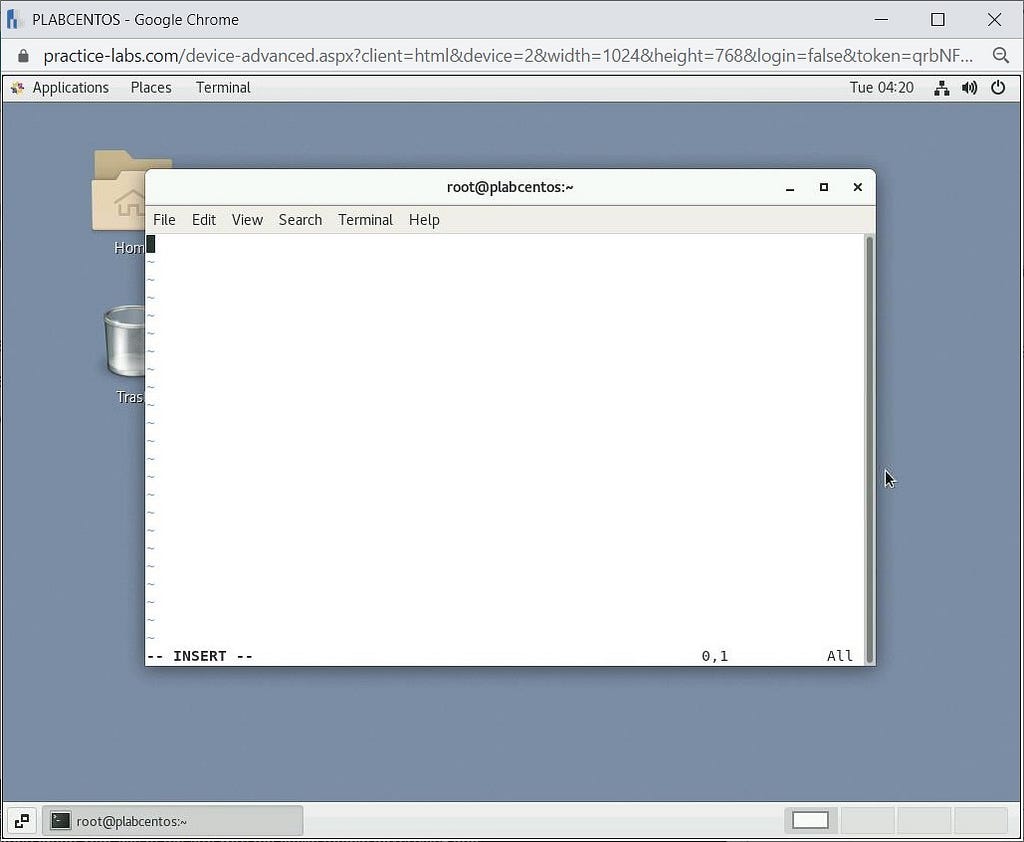
Continuing from the previous task, we will enter the INSERT mode on our editor by just pressing the I key and then entering our content. Please make sure to press I, otherwise, the editor will not enter insert mode, and we cannot do anything on the file.
Step 2
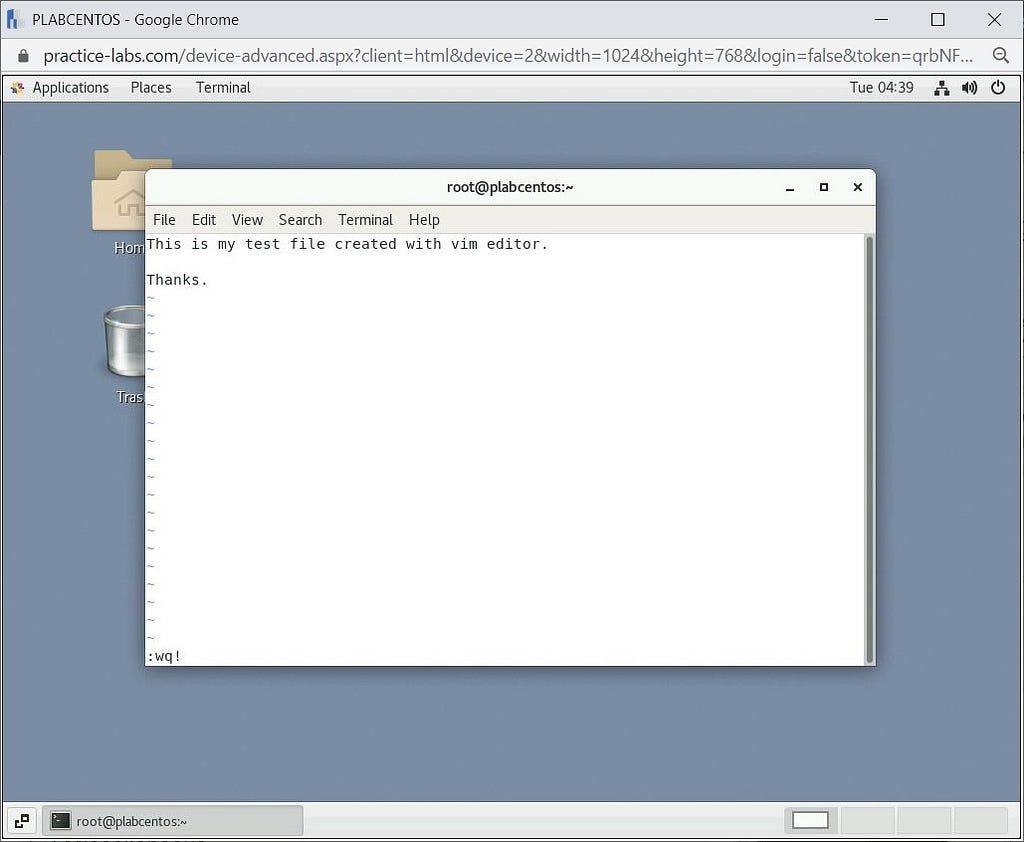
Now we will enter some text in this file and save it. Type the following:
This is my test file created with vim editor.
Thanks.
Once your text is entered, exit the insert mode by just pressing ESC. Once you exit that mode, type:
:wq!
This will save the file.
Step 3
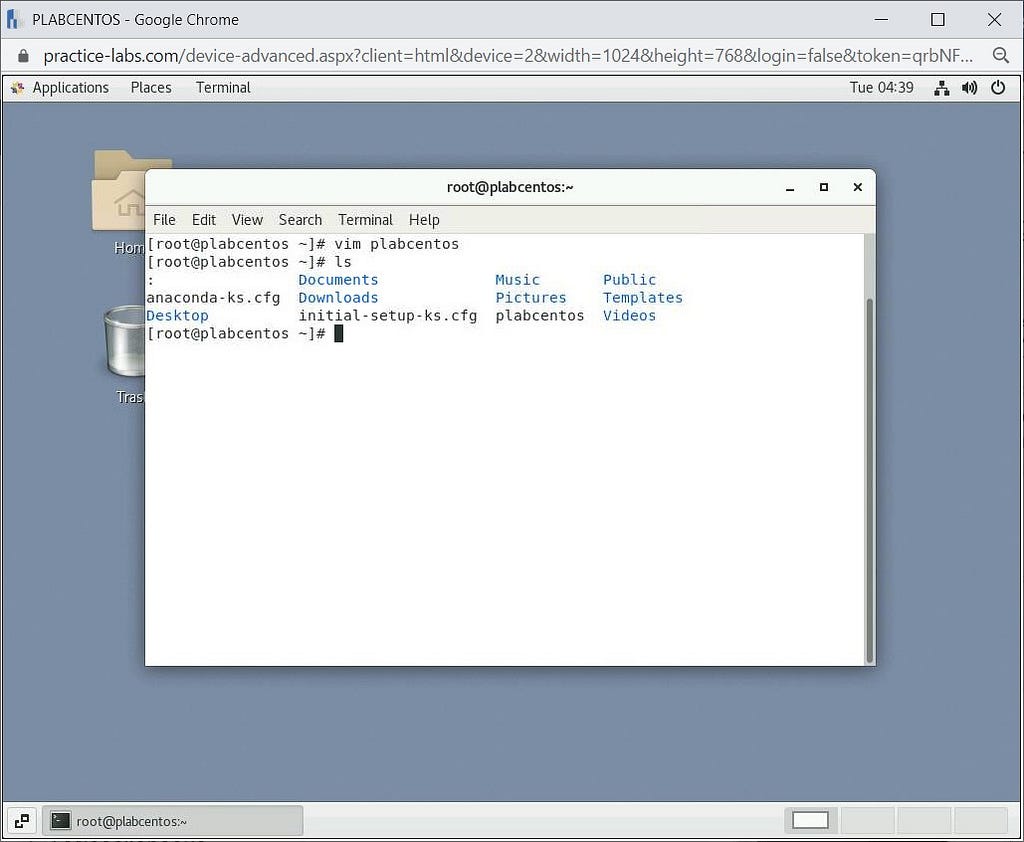
Now we will check if the file has saved by running the following command:
ls
You will see a new file listed in the directory by the name of plabcentos.
Task 2 — Deleting Content from a File using Vim Editor in CentOS and Showing Line Numbers
We will learn how to delete single/multiple lines in the file we created. We will also learn how to show numbers in front of the content; this is extremely useful in big coding files.
Step 1
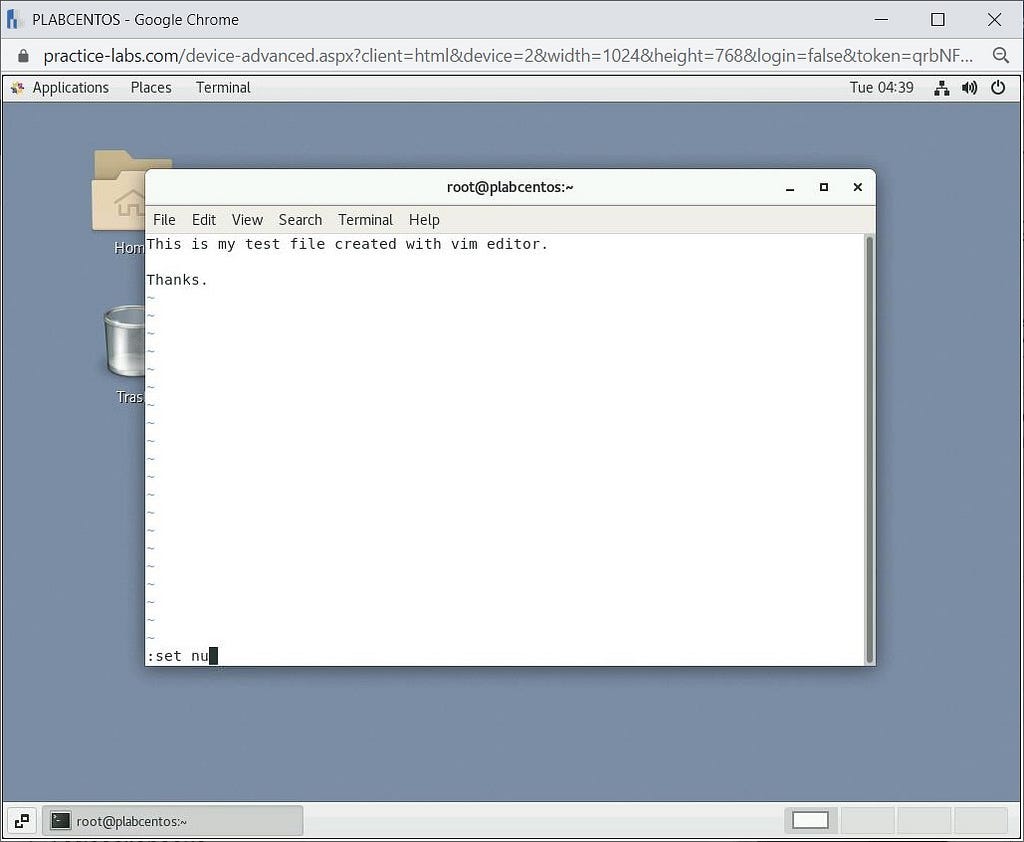
Firstly, we will be displaying line numbers, which are hidden in the content by default. First, open the file using the vim command:
vim plabcentos
Once done, type the following:
:set nu
Press Enter. This will now list line numbers next to our text.
Step 2
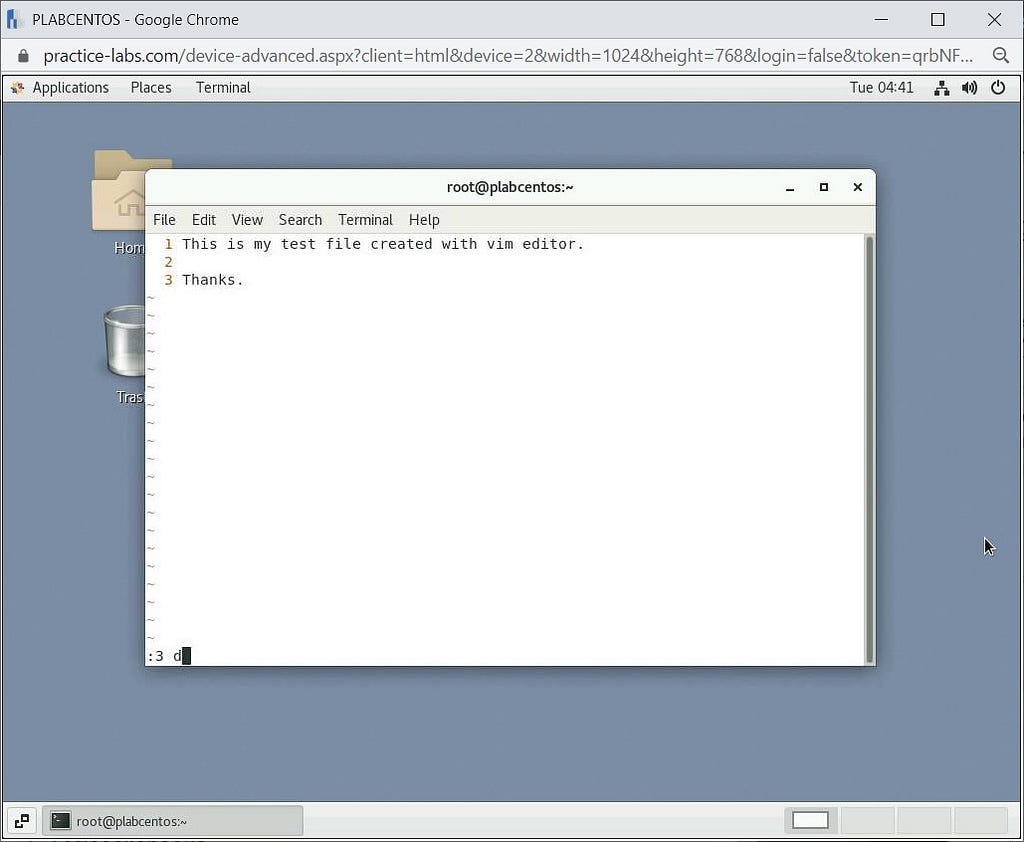
Now that we have line numbers, we will use the following command to delete line number 4 from our file:
:3 d
Please make sure to press ESC before typing this command.
This command will delete line number 3 from our content and will be left with only two lines.
Step 3
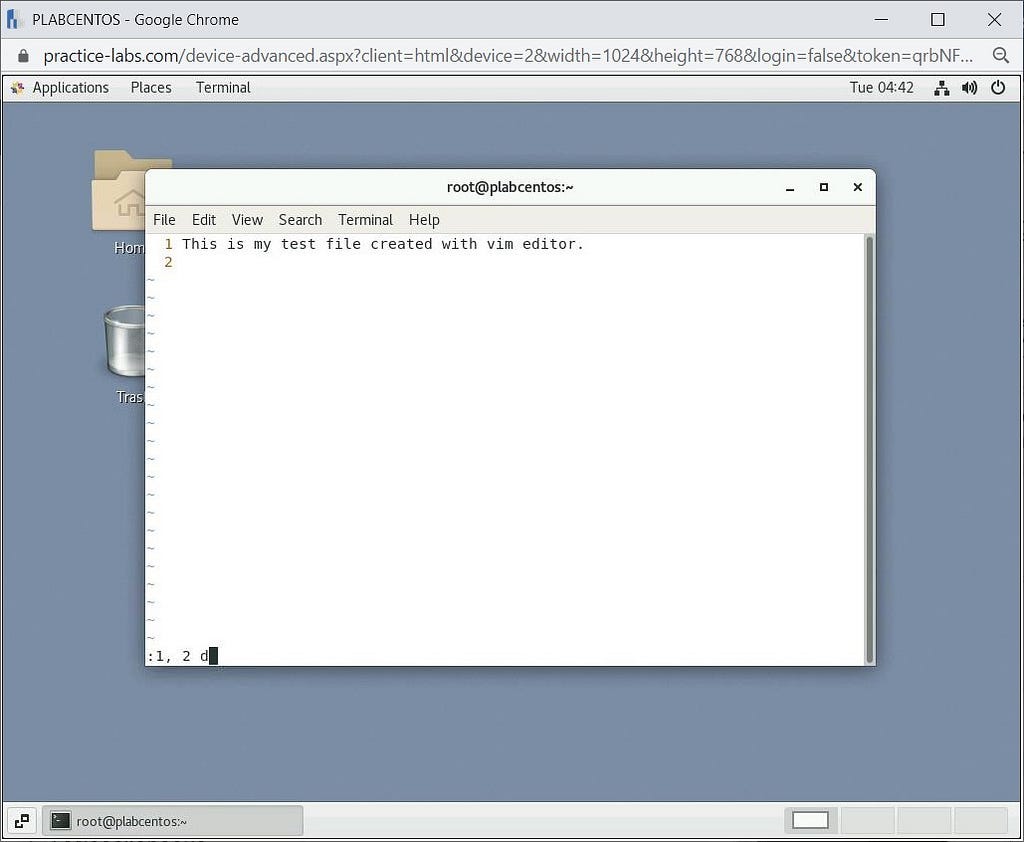
As in the previous step, we deleted a single line; let’s now delete multiple lines by running the following command:
:1, 2 d
Press Enter.
Step 4
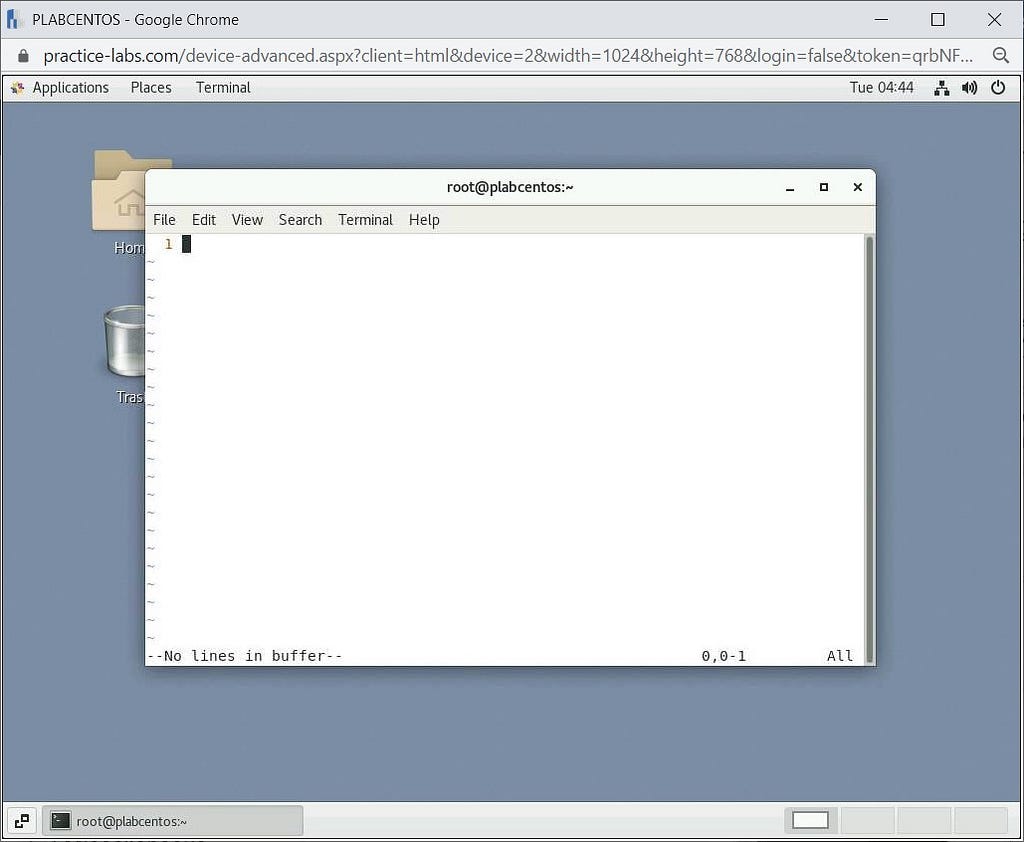
Now, let’s delete a file without setting line numbers. Just move your cursor to any line that you want to delete and press the D key two times continuously.
For example, enter Insert mode by pressing the I key, and type a line of text in line 1. Press the ESC key, highlight the line and press the D key twice to delete this line.
Step 5
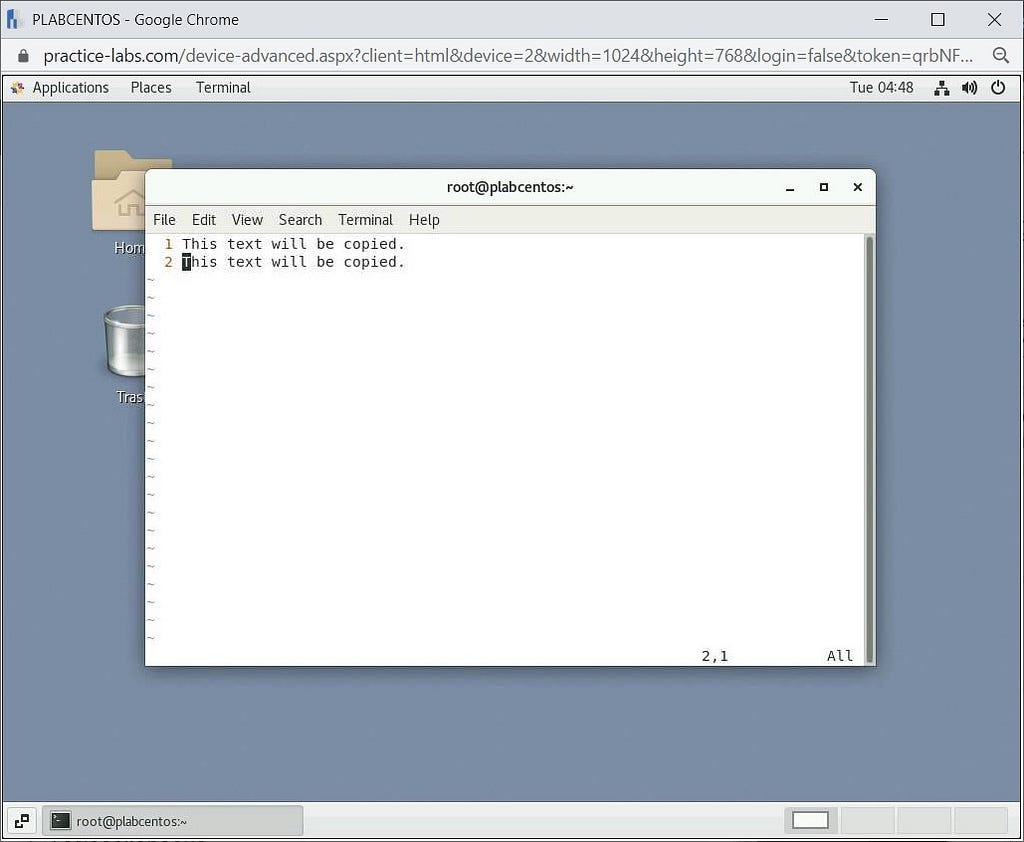
Now, if you want to copy a whole line and paste it elsewhere in that file, go to ESC mode and press the Y key twice on the line that you want to copy.
Once again, enter Insert mode by pressing the I key, and type the following into line 1:
This text will be copied
And press the ESC key. Click on this line, and then press the Y key twice.
Once the line is copied, then move your cursor to the next line paste it there by typing the p key. You can paste it to any location.
Review
Well done, you have completed the Administering Files in Linux Practice Lab.
Article posted by: https://certmaster.me/linux-fundamentals-lesson-5-administering-files-in-linux-61e555030234?source=rss-d9e5f258a4e8——2
——————————————————————————————————————–
Infocerts, 5B 306 Riverside Greens, Panvel, Raigad 410206 Maharashtra, India
Contact us – https://www.infocerts.com
