November 1, 2022
Linux FundamentalsLesson 8 : Application Installation In Linux
Exercises
Introduction
Lab Topology
Exercise 1 — Application Installation on Ubuntu
Exercise 2 — Application Installation on Centos
Review
Learning Outcomes
In this module, you will complete the following exercises:
- Exercise 1 — Application Installation on Ubuntu
- Exercise 2 — Application Installation on CentOS
After completing this lab, you will be able to:
- Install & Remove Applications in CentOS Through the Command Line and Graphically.
- Start, Stop & Check Status of Applications in CentOS
- Start, Stop & Check Status of Applications in Ubuntu
- Install & Remove Applications in Ubuntu Through the Command Line and Graphically.
Note: Our main focus is to cover the practical, hands-on aspects of the exam objectives. We recommend referring to course material or a search engine to research theoretical topics in more detail.
Lab Duration
It will take approximately 45 minutes to complete this lab.
Lab Topology
During your session, you will have access to the following lab configuration.
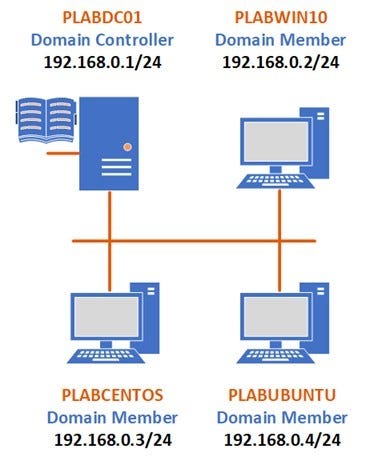
Depending on the exercises, you may or may not use all of the devices, but they are shown here in the layout to get an overall understanding of the topology of the lab.
- PLABDC01 — Windows Server 2019 (1809) (Domain Controller)
- PLABWIN10 — Windows 10 (1903) (Domain Member)
- PLABCENTOS — Centos 7 (Domain Member)
- PLABUBUNTU — Ubuntu 19.04 (Domain Member)
Exercise 1 — Application Installation on Ubuntu
In this exercise, we will learn how to Install applications in Ubuntu through the GUI and command line. There are thousands of applications that are used daily on Linux servers worldwide, so it is really important to learn the basic commands used to install and remove applications.
Learning Outcomes
After completing this exercise, you will be able to:
- How to Add/Remove Applications in Ubuntu through GUI and Command Line
- How to use text editor Graphically and Command Line
Your Devices
During your session, you will have access to the following lab configuration.
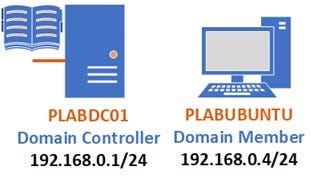
Depending on the exercises, you may or may not use all of the devices, but they are shown here in the layout to get an overall understanding of the topology of the lab.
- PLABDC01 — Windows Server 2019 (1809) (Domain Controller)
- PLABUBUNTU — Ubuntu 19.04 (Domain Member)
Task 1 — How to Install an Application Through the Command Line
Let’s learn how to install multiple packages through the command line in Ubuntu. This includes vsftpd, apache2, php and mysql. First, it is necessary to check available updates on the OS and accordingly upgrade them before installing any package or application.
Step 1
Log into PLABUBUNTU using the following credentials:
Username:
Admin
Password:
Passw0rd
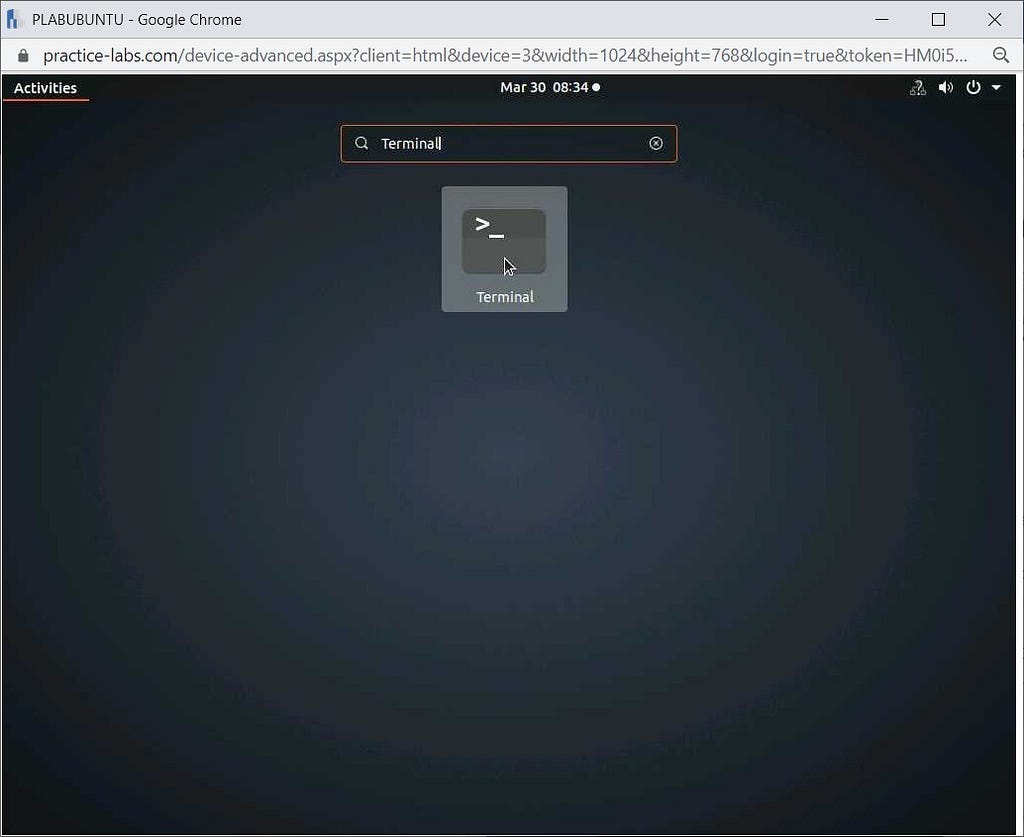
Go to Show Applications and open the Terminal by searching in the bar.
Step 2
Let’s see if we can patch the OS. First, we will log in as the root user to perform further actions and run further commands accordingly. This can be done by using the following command:
sudo su -
Type the following password:
Passw0rd
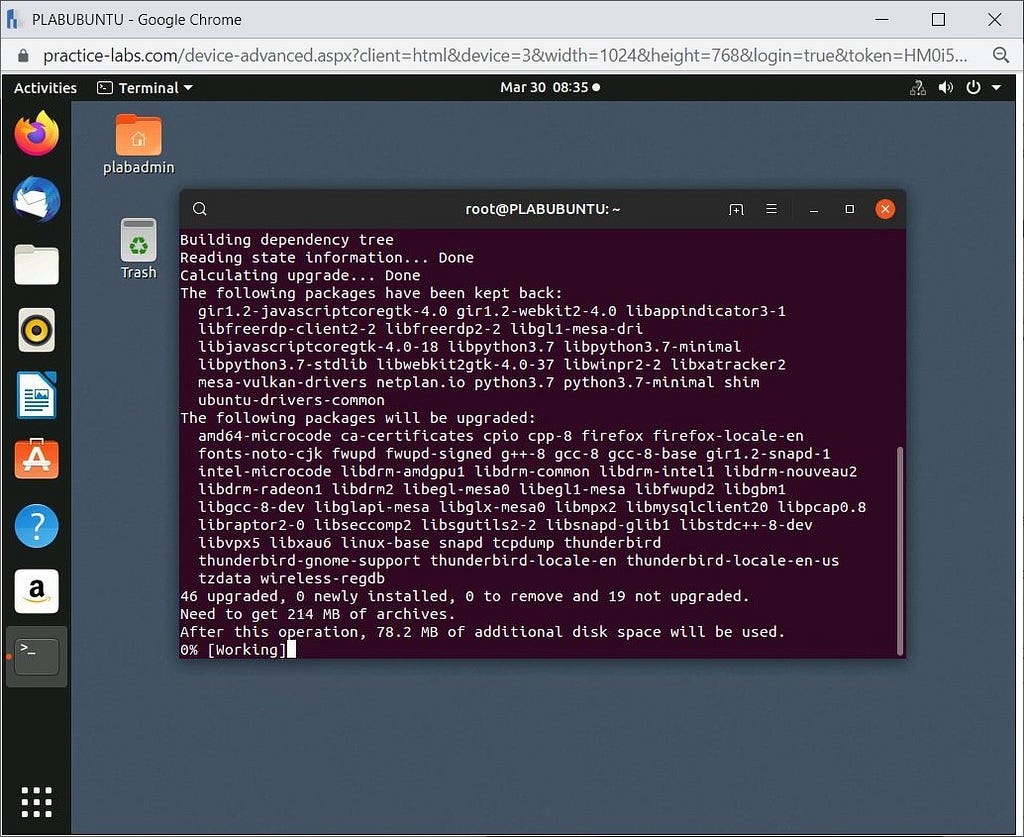
Then as the root user, run the following command check the updates:
apt-get update
After checking updates, we will run the following command to do final package updates:
apt-get upgrade -y
Step 3
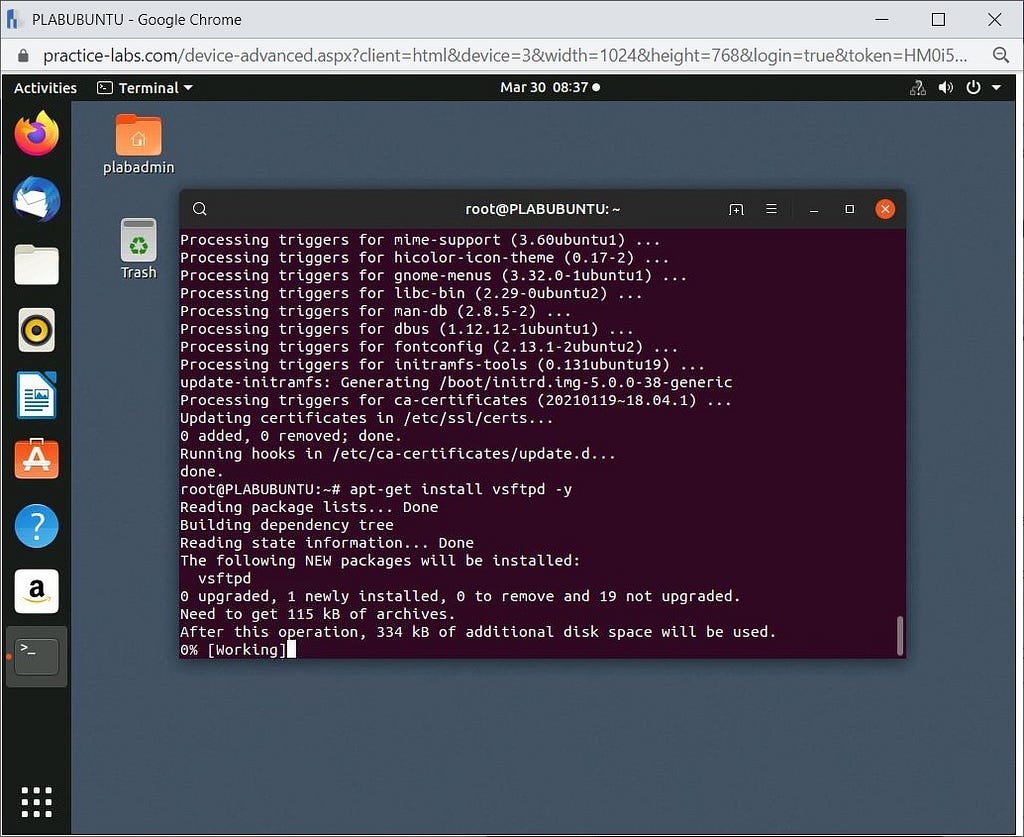
Now we will first install the vsftpd package on Ubuntu by running the following command:
apt-get install vsftpd -y
Step 4
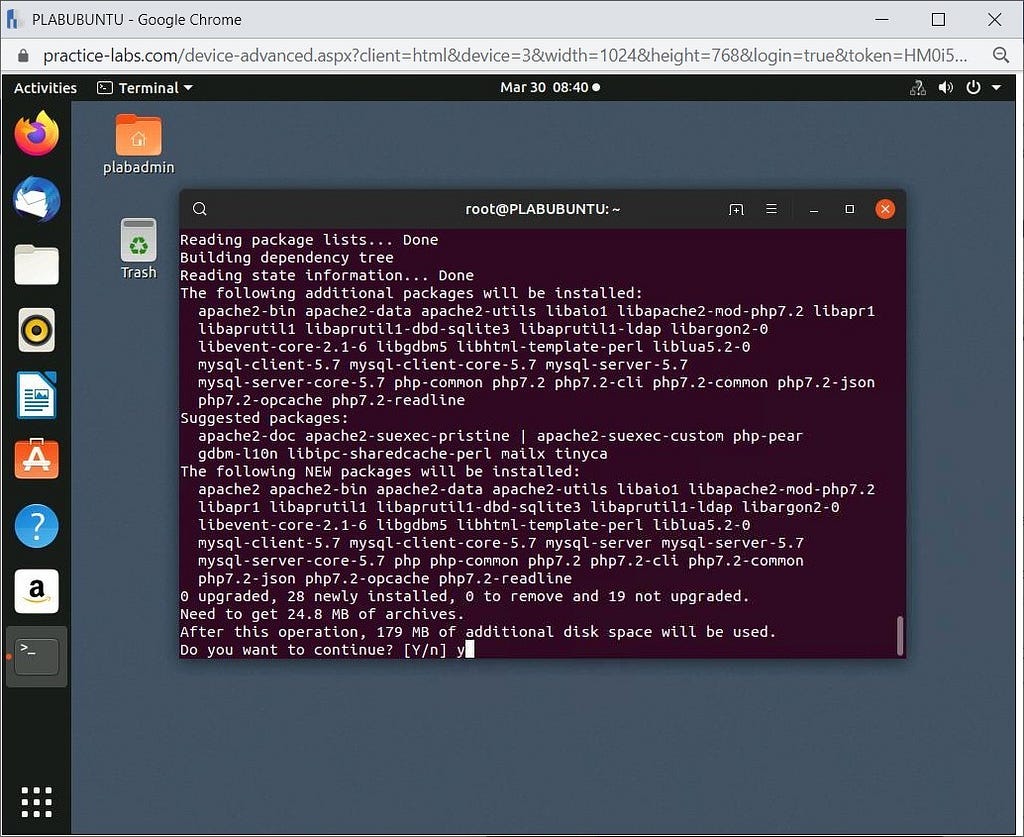
There is also a way to install multiple packages in Ubuntu. We will install three packages together by running the following command:
apt-get install apache2 php mysql-server
When asked if you wish to continue, type the following:
y
Press Enter and allow the process to complete.
Task 2 — How to Start/Stop Applications and Services in Ubuntu
This task will go into detail on how to start/stop services and check its status if it is active/inactive. Commands for this task will be different from CentOS. We will take Apache2 as an instance for testing our steps.
Step 1
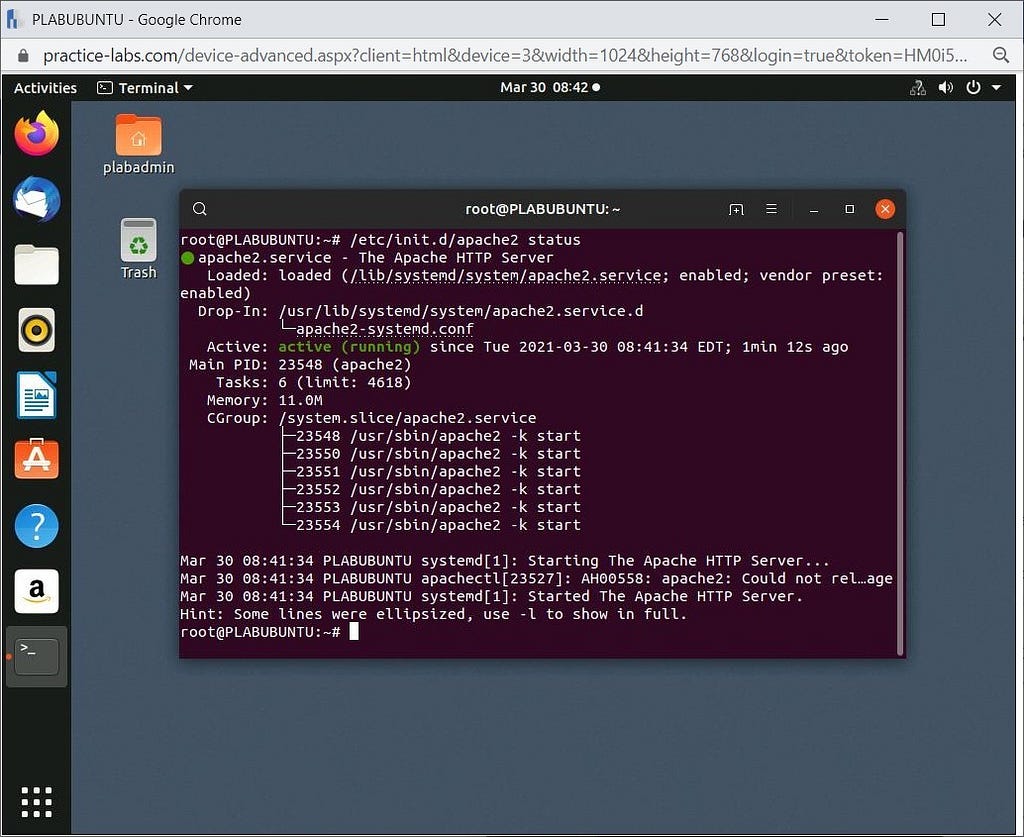
First, we will check the status of apache2 by running the following command:
/etc/init.d/apache2 status
Step 2
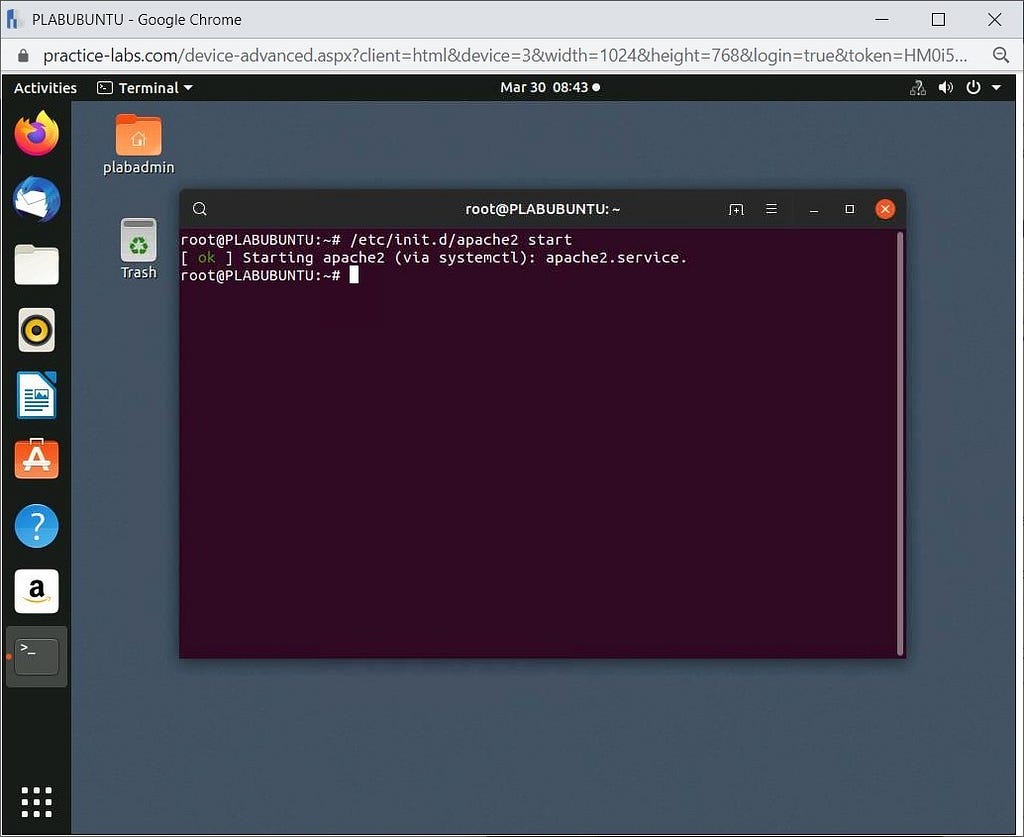
Now we will start the application by running the following command:
/etc/init.d/apache2 start
Step 3
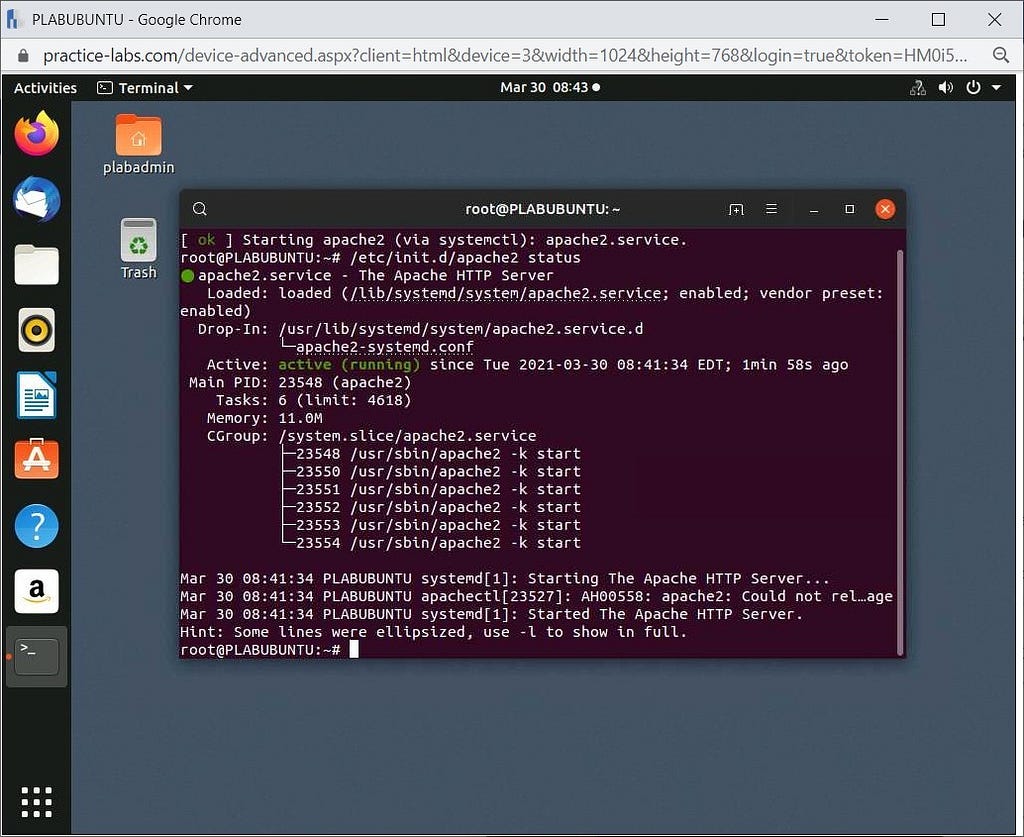
The last step is to check the status of apache2 again by running the following command:
/etc/init.d/apache2 status
Task 3 — How to Remove the Installed Packages.
In this task, we will remove the installed packages completely from our OS, which is different in both Ubuntu and CentOS.
Step 1
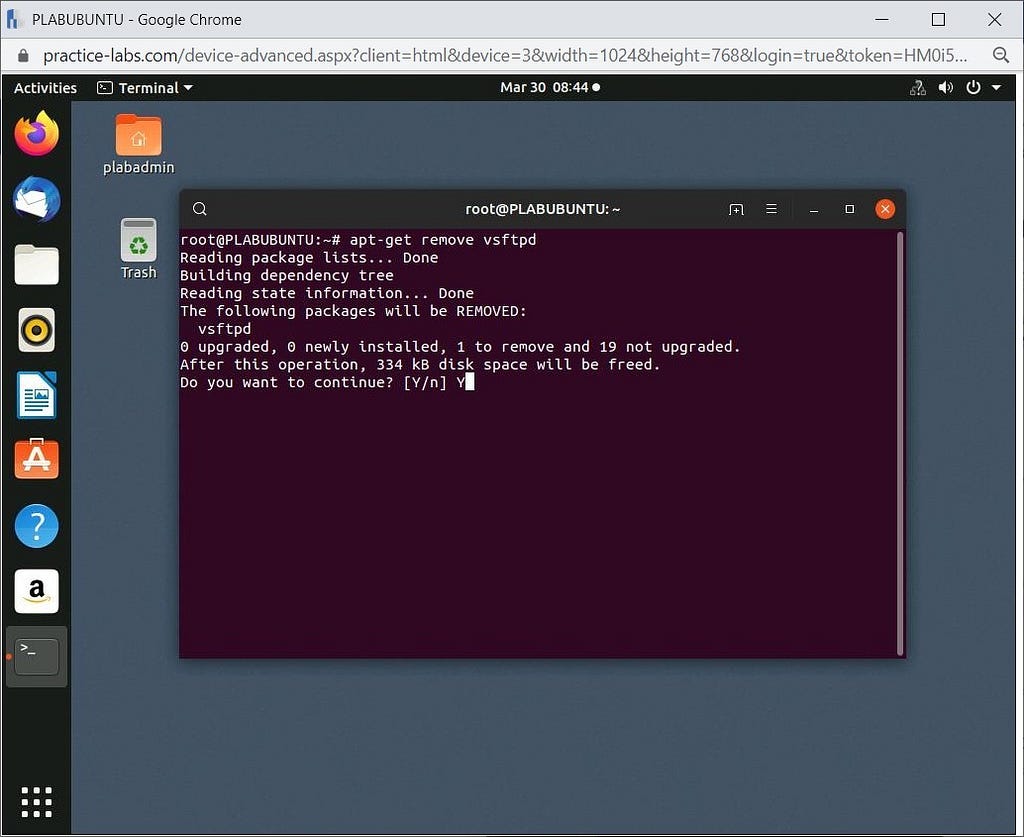
First, we will remove vsftpd by running the following command:
apt-get remove vsftpd
After running this command, a prompt will appear with a Yes or No. Type:
y
Press Enter to proceed further and remove vsftpd.
Step 2
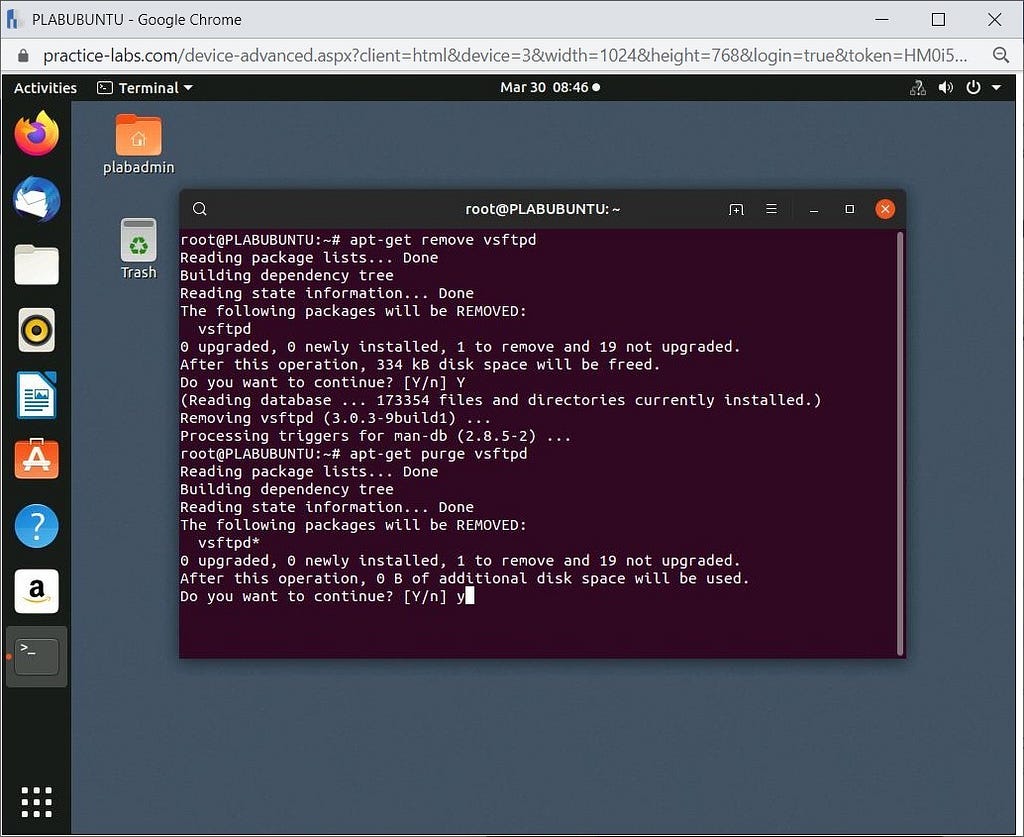
This step is very important, as it will remove the complete configuration of vsftpd from our OS. By default, the apt-get removes command does not delete the application’s configuration created while installation of it. To do so, we will run the following command:
apt-get purge vsftpd
After running this command, another Y/N prompt will appear asking for to proceed further. Type the following:
y
Press Enter.
Please note we can remove multiple packages the same way we installed them.
Step 3
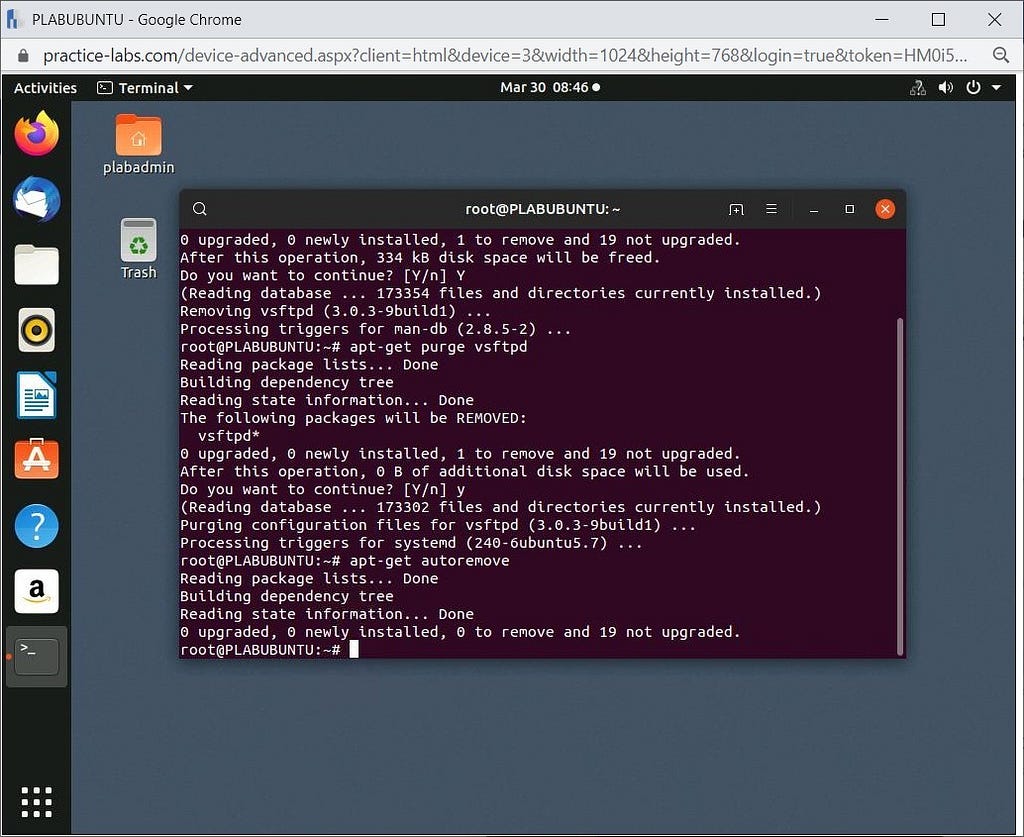
Now we will remove all the dependencies of the applications we removed in the previous step by running the following command:
apt-get autoremove
Exercise 2 — Application Installation on Centos
In this exercise, we will learn how to Install applications in CentOS through the GUI and command line. We will learn about how to find info about an application using ‘yum’ and also learn how to remove an application from OS.
Learning Outcomes
After completing this exercise, you will be able to:
- Install / Remove applications in CentOS through the command line and graphically.
- Start / Stop / Check Status of Applications in CentOS
Your Devices
During your session, you will have access to the following lab configuration.
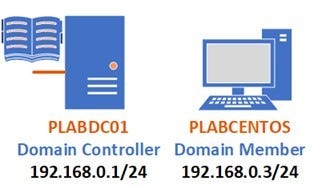
Depending on the exercises, you may or may not use all of the devices, but they are shown here in the layout to get an overall understanding of the topology of the lab.
- PLABDC01 — Windows Server 2019 (1809) (Domain Controller)
- PLABCENTOS — Centos 7 (Domain Member)
Task 1 — How to Install an Application Graphically
We will install an application through the GUI and learn all the basic steps about it in this task.
Step 1
Log into PLABCENTOS using the following credentials:
Username:
Plabadmin
Password:
Passw0rd
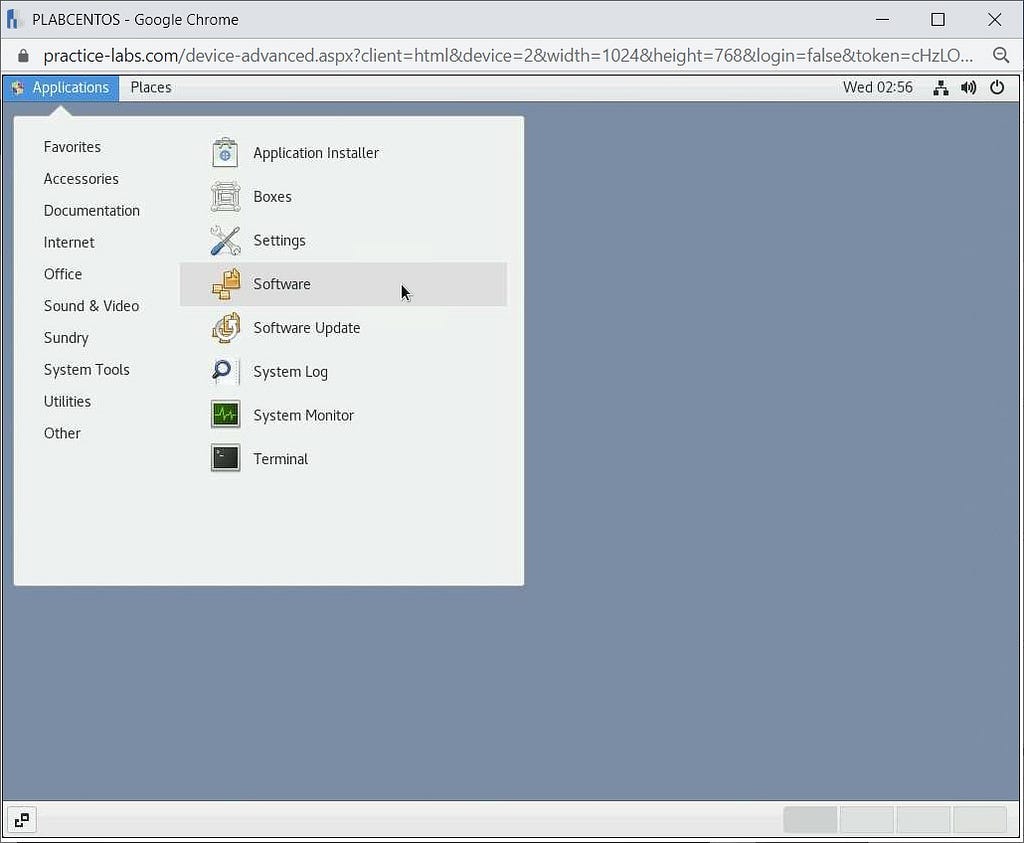
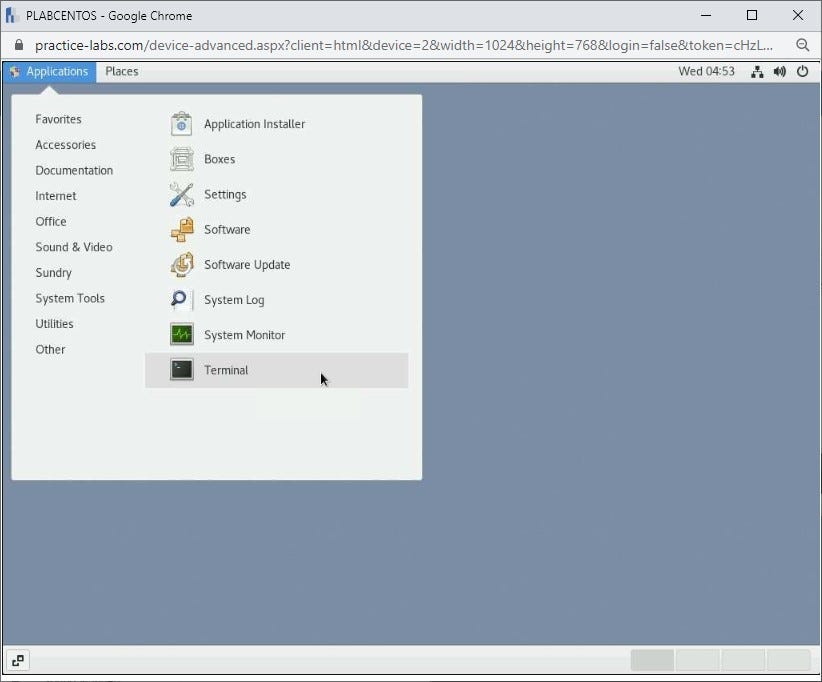
Once you have logged in, navigate to Applications >System Tools >Software:
Step 2
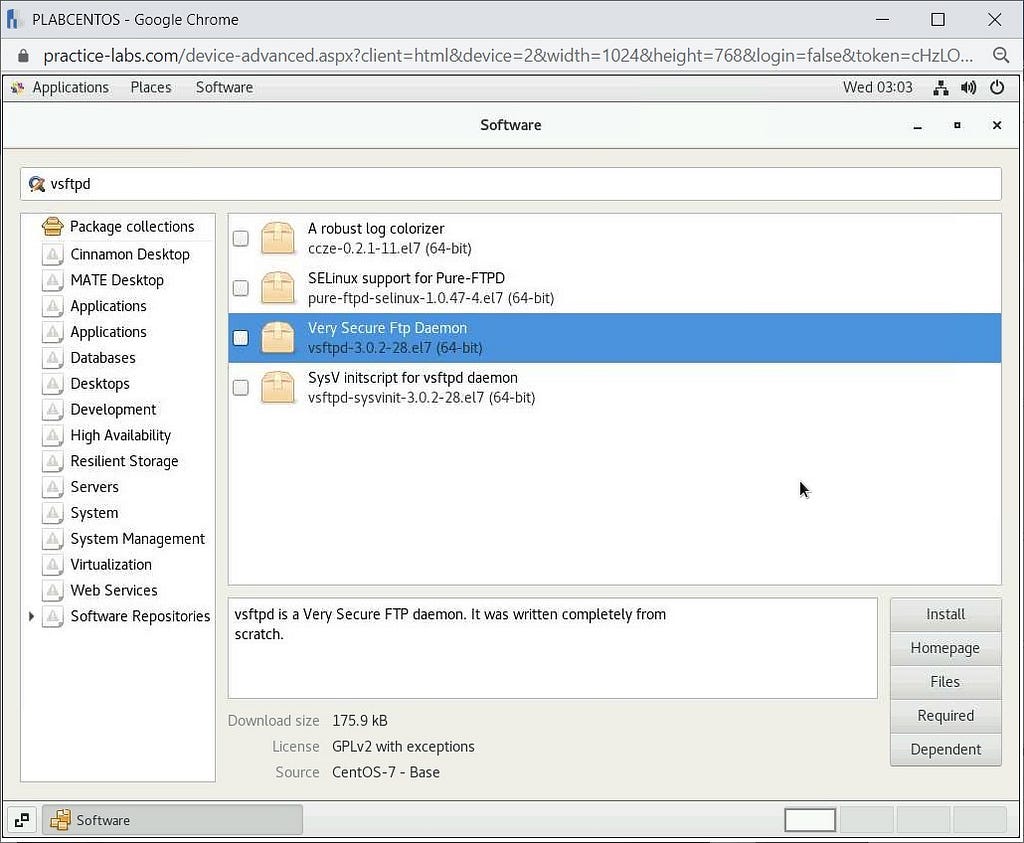
After opening the Software application, type the following into the search bar:
vsftpd
And press Enter.
Step 3
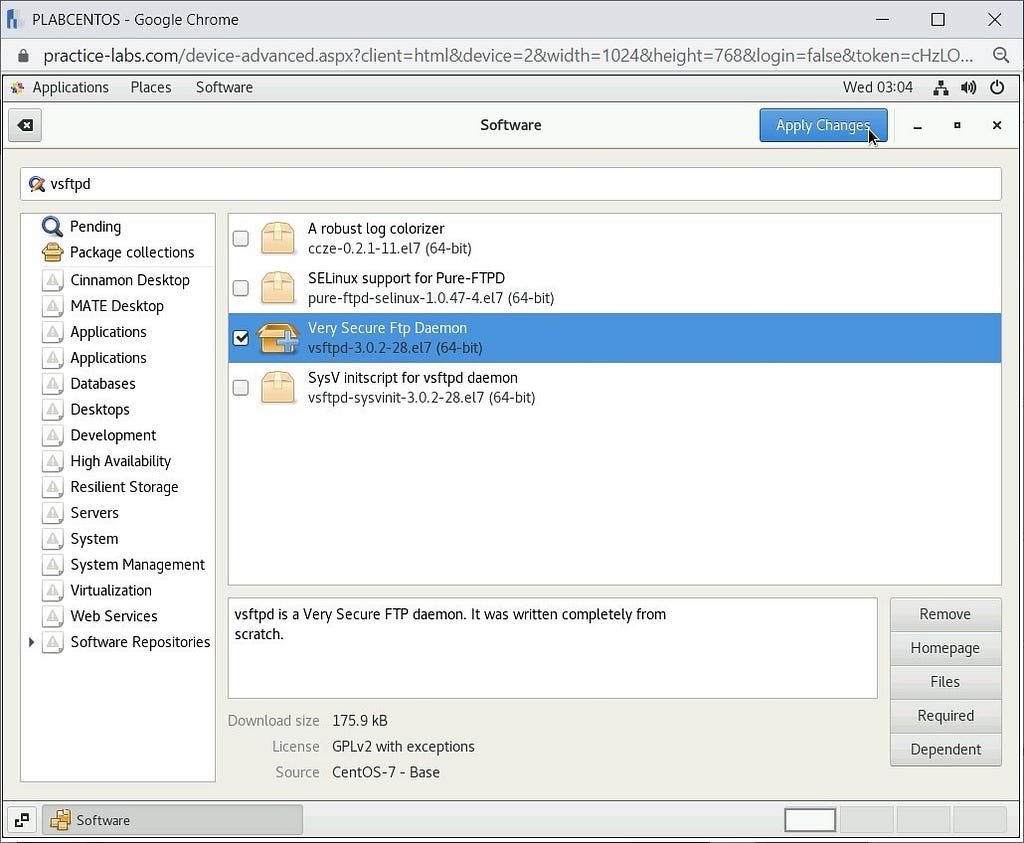
Select the Very Secure Ftp Daemon package and click on Apply Changes to begin the installation.
Step 4
You will get a prompt asking your permission to authenticate the installation by putting your administrator password:
Passw0rd
Once successfully authenticated, vsftpd will be successfully installed on the system, and its status will change to Installed.
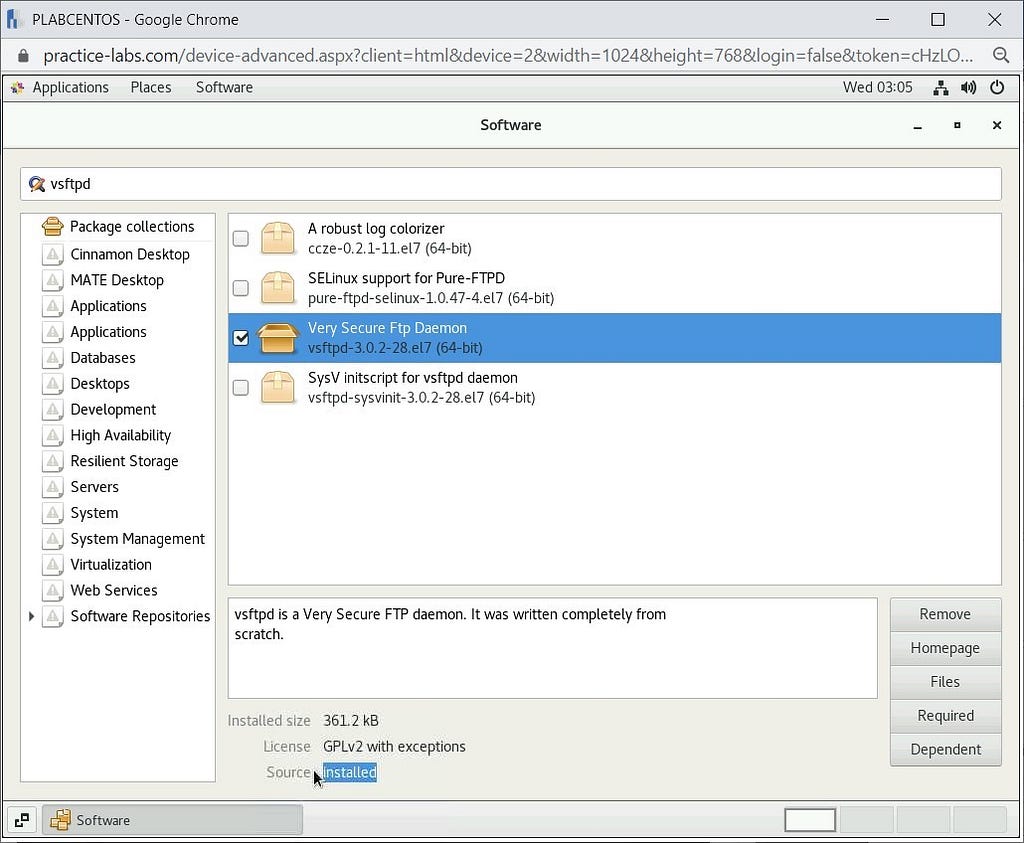
Close the Software window and proceed to the next task.
Task 2 — How to Install an Application through the Command Line
In this task, we will install a different application, which is httpd through the command line. Further, we will also learn how to enable repositories in CentOS.
Step 1
Navigate to Applications >System Tools >Terminal.
Step 2
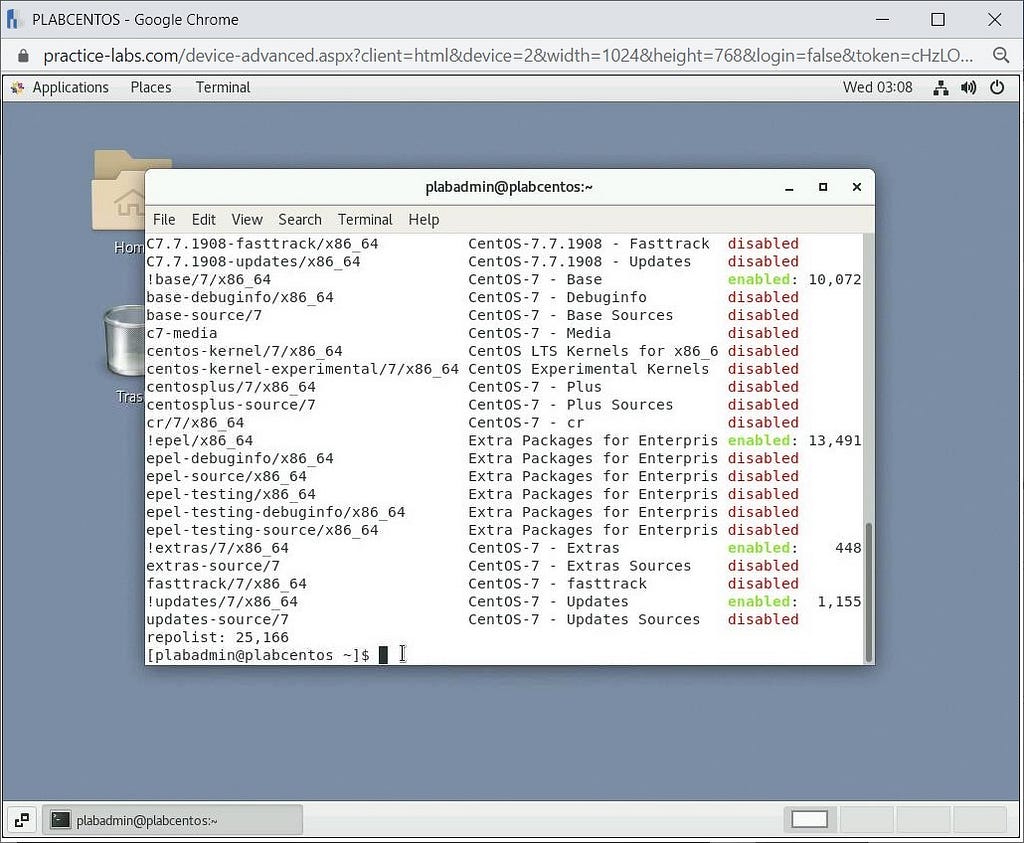
Now we will check the status (Enabled or Disabled) of repositories in our OS by using the following command:
yum repolist all
Step 3
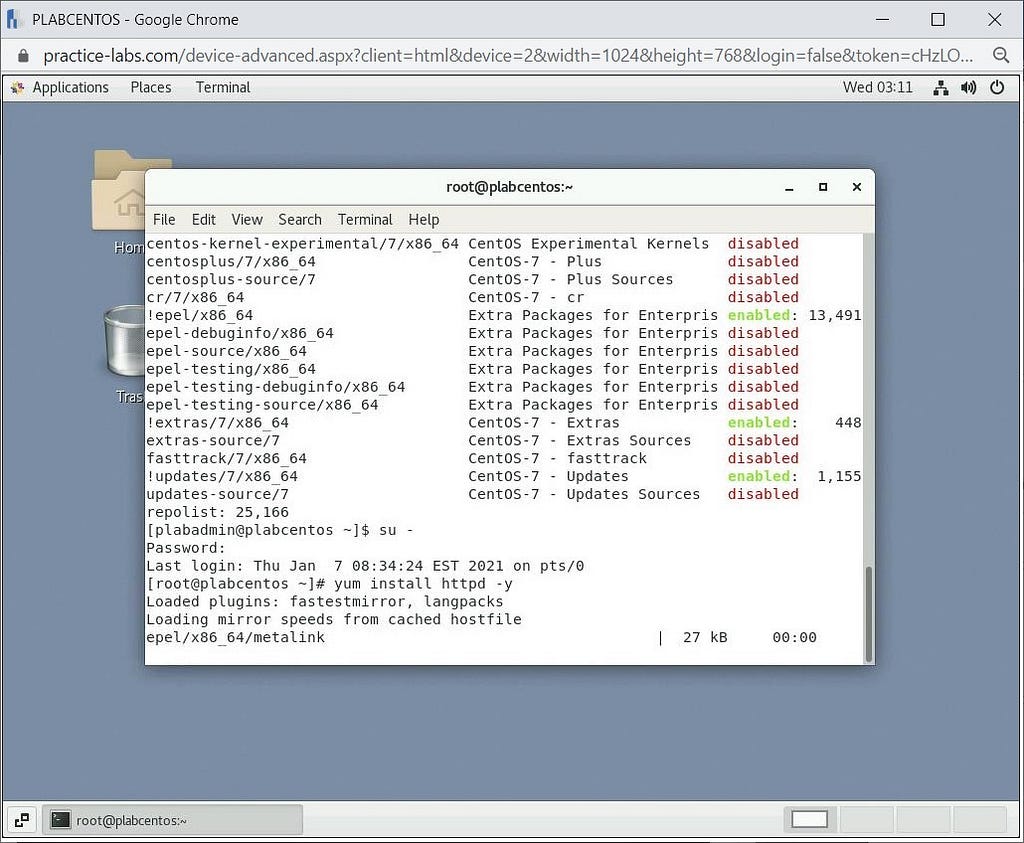
To perform an installation, we are required to be logged in as the Root user. Type the following command:
su -
When prompted, enter the following password:
Passw0rd
Once logged in as the Root user, will now install an application/service named httpd by using the following command:
yum install httpd -y
Step 4
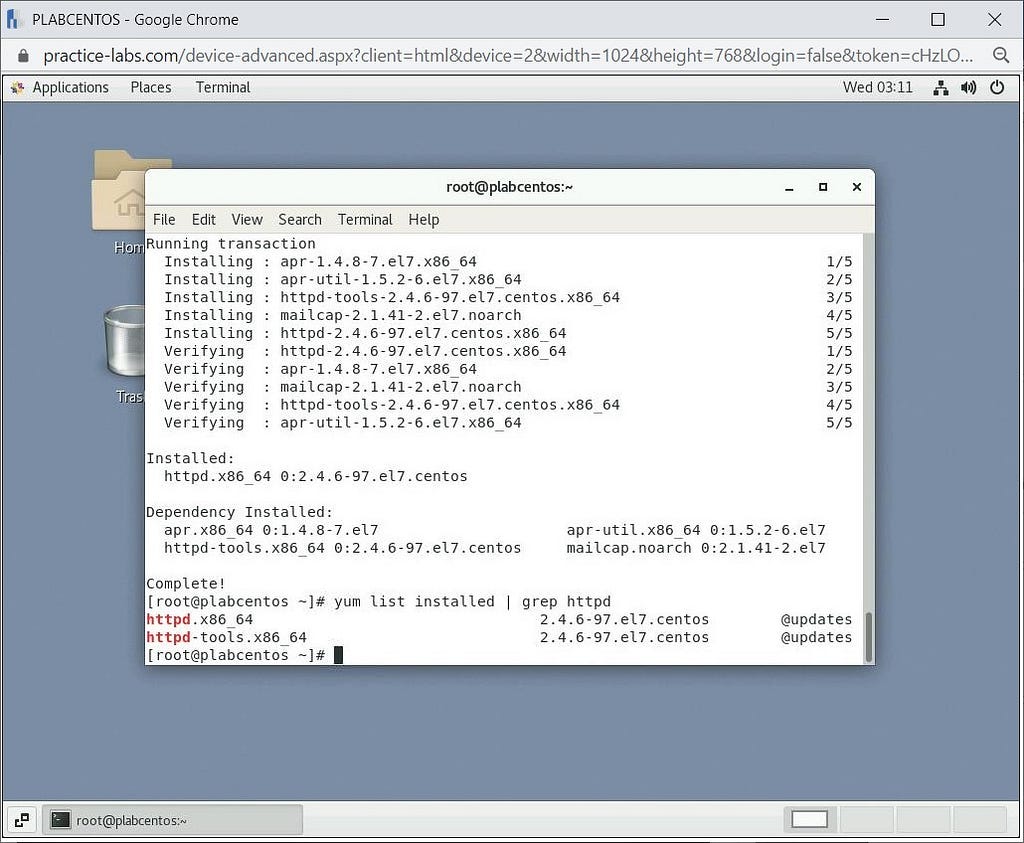
In this step, we will check if the package is installed or not by running the following command:
yum list installed | grep httpd
Step 5
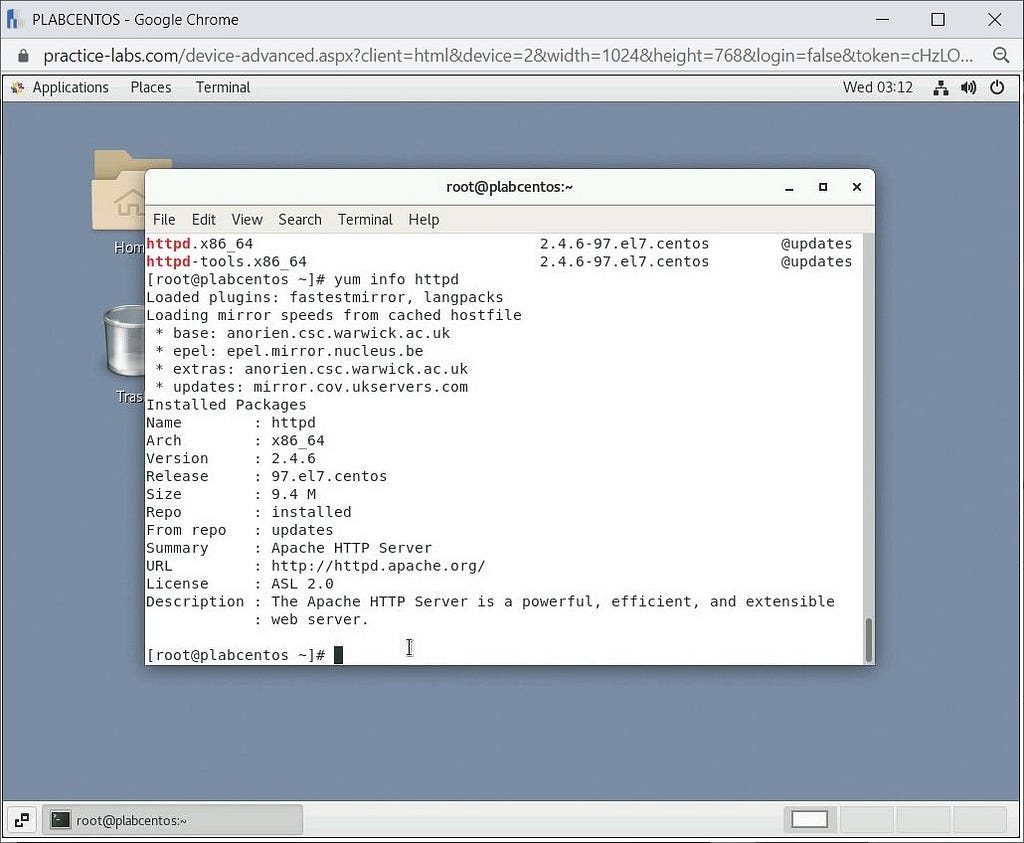
We will now check all the information of the httpd application by running the following command:
yum info httpd
Task 3 — How to Start/Stop the Application or Service
In this task, we will learn how to start/stop the httpd service. Please note starting and stopping a service uses a different command in most of the distros. In CentOS, systemctl is used as the base command.
Step 1
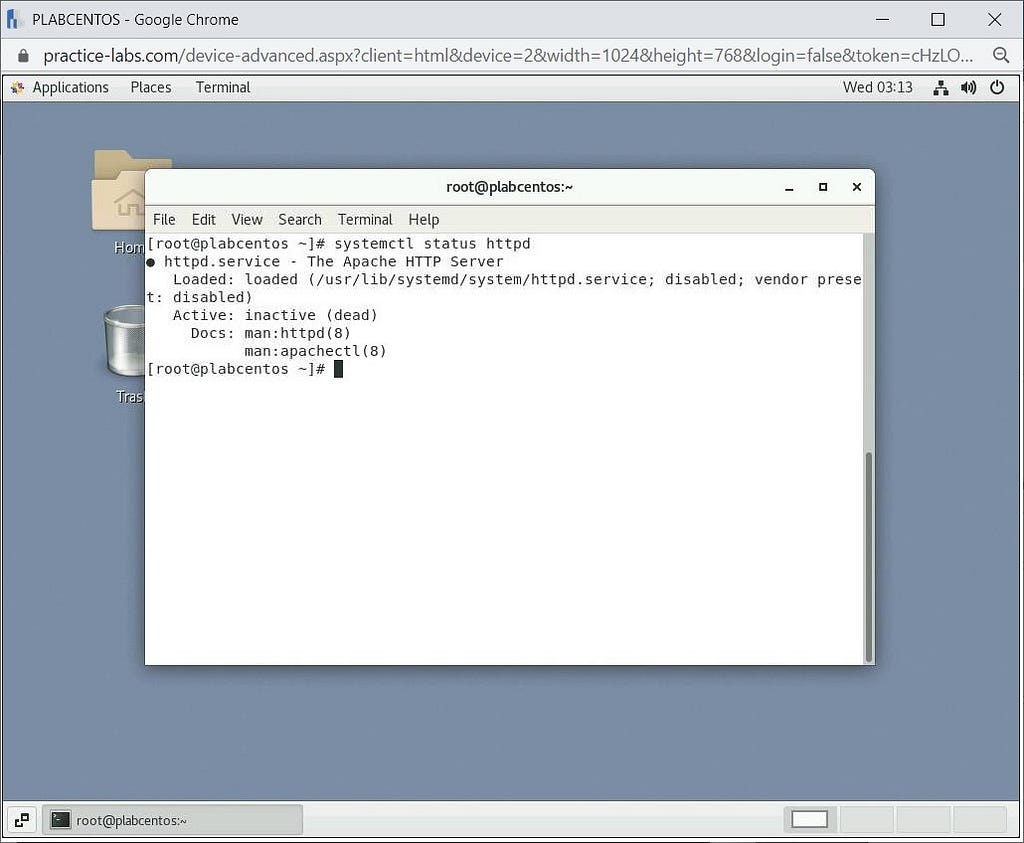
First, we will check the application’s status, which by default will be Inactive. To do so, we will run the following command:
systemctl status httpd
Step 2
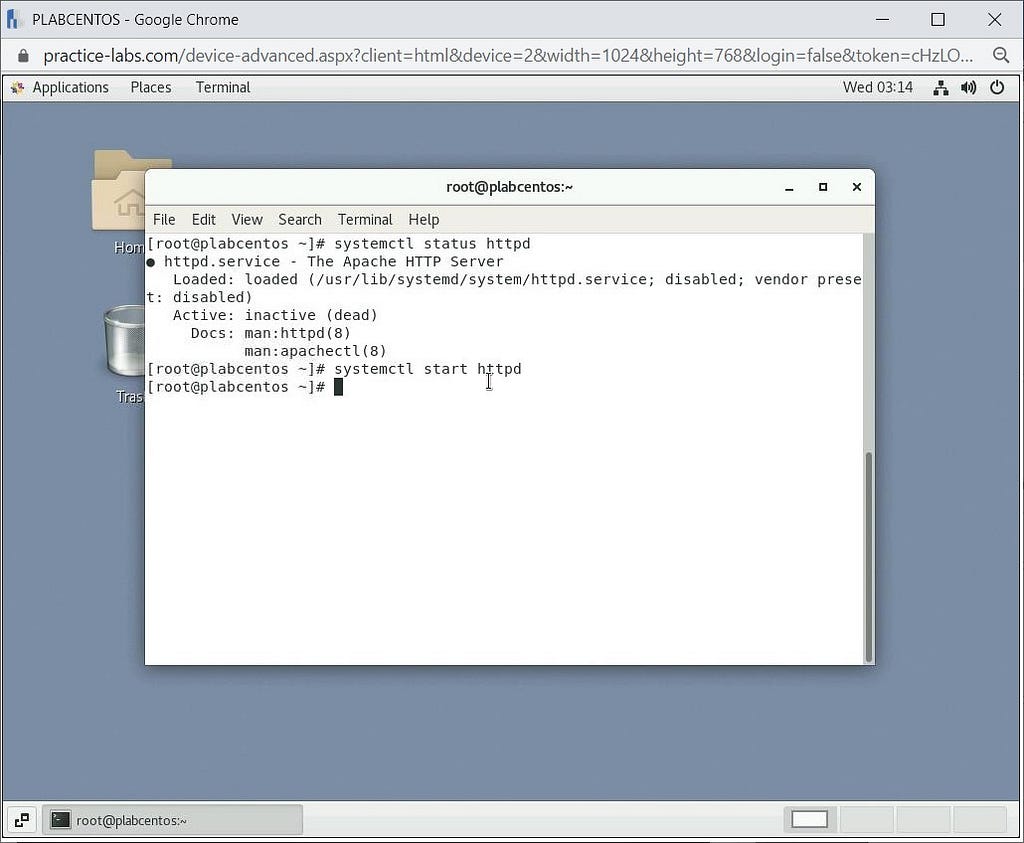
Now we will start the httpd service by running the following command:
systemctl start httpd
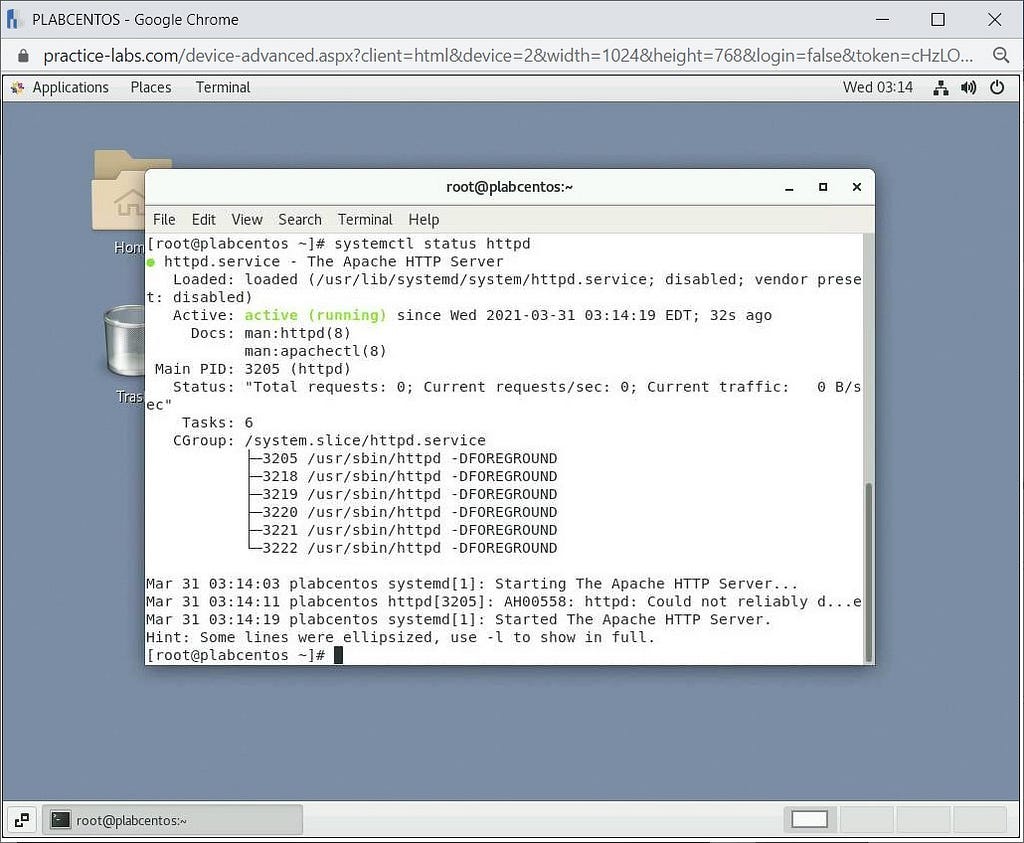
Step 3
This is the same as step 1, which checks the application’s status after using the start command. This can be done by using the following command:
systemctl status httpd
Task 4 — How to Remove Installed Applications in CentOS.
Now we have learned how to stop and start an application, let’s discover how we would remove and uninstall it from our OS via the command line.
Step 1
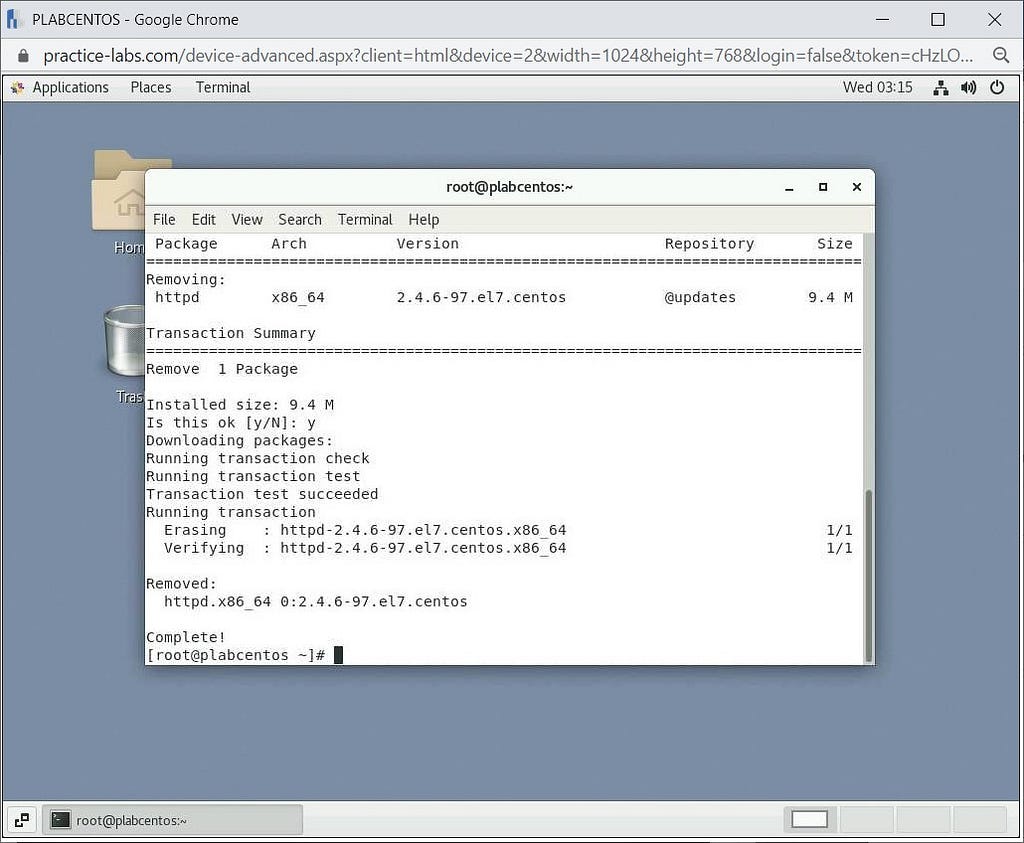
There is only 1 step to remove the application from our OS. This can be done using the following command:
yum remove httpd
After running the above command, you will again receive a Y/N prompt. Type:
y
and press Enter to remove the application.
Review
Well done, you have completed the Application Installation in Linux Practice lab.
Article posted by: https://certmaster.me/linux-fundamentalslesson-8-application-installation-in-linux-82f26af24e2?source=rss-d9e5f258a4e8——2
——————————————————————————————————————–
Infocerts, 5B 306 Riverside Greens, Panvel, Raigad 410206 Maharashtra, India
Contact us – https://www.infocerts.com
